mc_rtc::Configuration general purpose configurationThis tutorial demonstrates how to implement a mobile manipulation controller using mc_rtc's multi-robot framework. The example follows the same principles introduced in the Multi-robot controller tutorial and extends them to mobile manipulation with contacts and articulated objects.
Note: this article assumes you are able to run and visualize the controller using ROS.
We will build a simple controller that will load UR5e as the main robot, Dingo as the second robot and the door as the third robot, which is provided as mc_rtc robot module mc_ur5e, mc_ur5e_description and mc_dingo respectively. The door is part of the mc_rtc_data package that you should already have. To load UR5e as the main robot, mc_rtc configuration file need to be modified as follows:
MainRobot: UR5eFloatingBase
Enabled: MobileArmController
Now, let's build a controller that takes mobile arm robots as input:
#include <mc_rbdyn/RobotLoader.h>

MobileArmController::MobileArmController(mc_rbdyn::RobotModulePtr rm, double dt, const mc_rtc::Configuration &config)
: mc_control::MCController(
  {
    rm,
    mc_rbdyn::RobotLoader::get_robot_module("dingo"),
    mc_rbdyn::RobotLoader::get_robot_module("env/door"),
    mc_rbdyn::RobotLoader::get_robot_module("env/ground")
  },
dt)@staticmethod
def create(robot, dt):
dingo = mc_rbdyn.get_robot_module("dingo")
door = mc_rbdyn.get_robot_module("env/door")
ground = mc_rbdyn.get_robot_module("env/ground")
return MobileArmController([robot, dingo, door, ground], dt)In this new example, we have loaded two extra robots: dingo and door. We have done so by providing a list of robot modules to load. The loaded robots are then indexed according to the order in which the modules were provided. It means that our main robot UR5e still has the index 0, the Dingo robot has index 1, the door has index 2. The URe5 should be in contact with Dingo and Dingo should be moving planarly on the ground. It means that the contacts setting must be updated as follows:
// In the constructor
Eigen::Vector6d dof = Eigen::Vector6d::Ones();
dof[2] = 0.0;
dof[3] = 0.0;
dof[4] = 0.0;
double friction = mc_rbdyn::Contact::defaultFriction;
addContact({"dingo", "ground", "Base", "AllGround", friction, dof});
// In the reset function after setting up initial position
addContact({"dingo", "ur5e", "Base", "Base"});
# In the constructor
dof = eigen.Vector6d.Zero()
dof[0] = 1.0
dof[1] = 1.0
dof[5] = 1.0
friction = mc_rbdyn.Contact.defaultFriction
self.addContact(
mc_control.Contact(
"dingo", "ground", "Base", "AllGround", friction, dof
)
)
# In the reset function after setting up initial position
self.addContact(mc_control.Contact("dingo", "ur5e", "Base", "Base"))Also, to define Dingo robot as floating base, instead of "env" as for door and ground, we use "object" when loading the robot module in the constructor.
We need to addContact() after setting up the initial position because a contact itself is a constraint.
Moving the robot position using posW(), as shown in the next section, would not move the frame used for addContact().
This is not a problem in this example since ur5e transition with respect to dingo is fixed, but the bug will arise when the initial offset is more complicated.
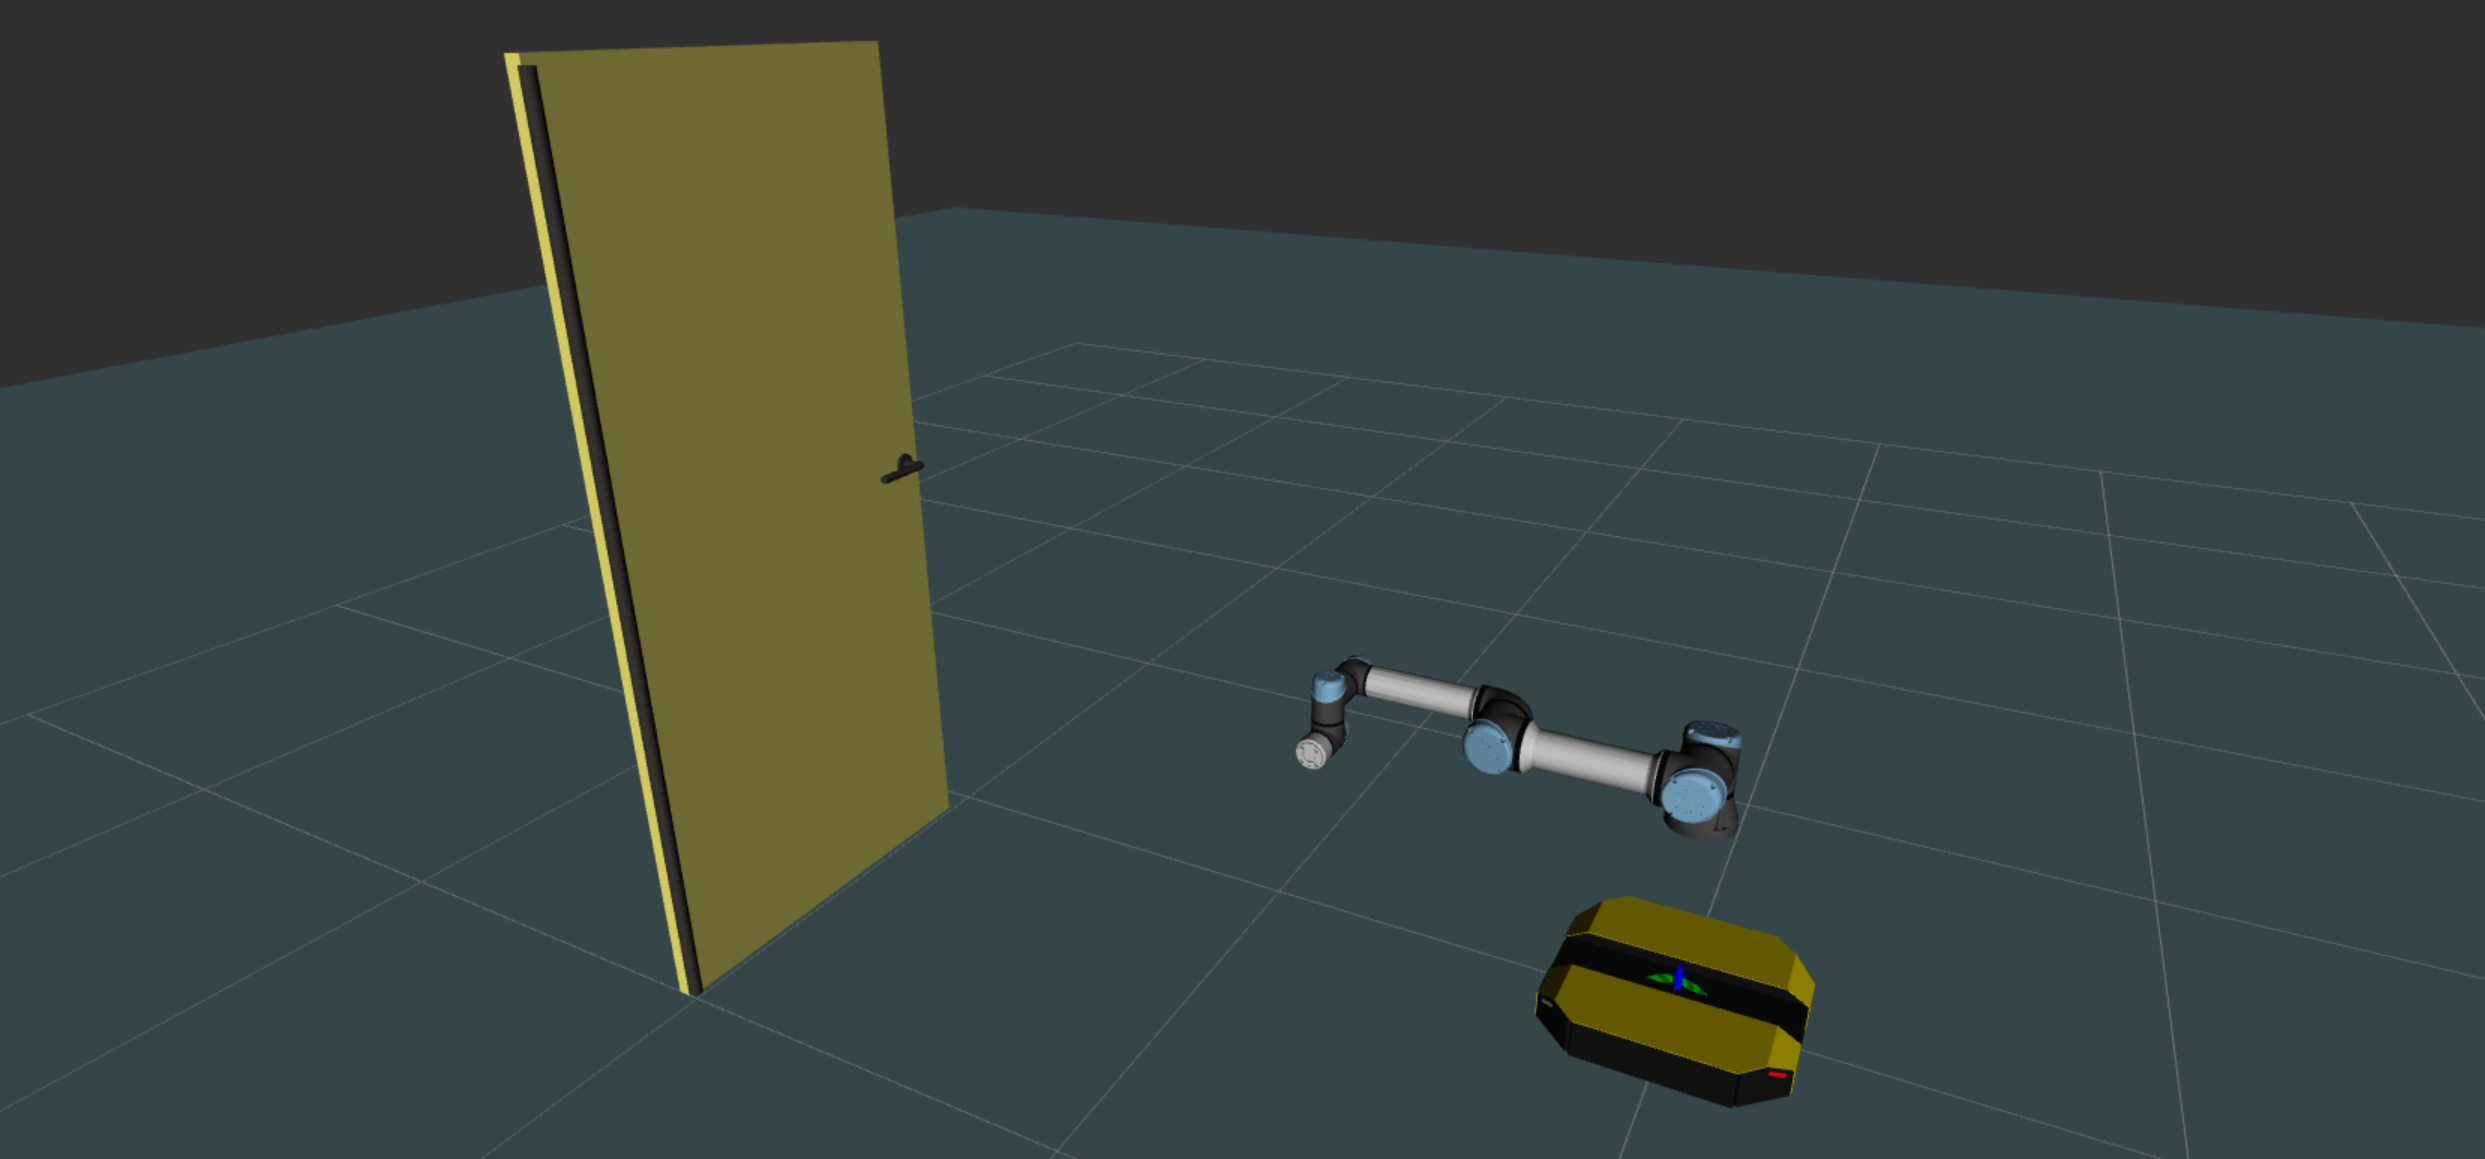
If you start the controller now, you will notice all robots are in the same location, for the purpose of this tutorial, we will manually reposition the UR5e, Dingo robots and the door.
// In the reset function
robots().robot(0).posW(
  sva::PTransformd(sva::RotZ(0.0), Eigen::Vector3d(0.0, 0.0, 0.5)));
robots().robot(1).posW(
  sva::PTransformd(sva::RotZ(0.0), Eigen::Vector3d(-0.25, 0.0, 0.0)));
robots().robot(2).posW(
  sva::PTransformd(sva::RotZ(M_PI), Eigen::Vector3d(2.0, 1.0, 0)));
# In the reset callback
self.robots().robot(0).posW(
sva.PTransformd(sva.RotZ(0.0), eigen.Vector3d(0.0, 0.0, 0.5))
)
self.robots().robot(1).posW(
sva.PTransformd(sva.RotZ(0.0), eigen.Vector3d(0.0, 0.0, 0.0))
)
self.robots().robot(2).posW(
sva.PTransformd(sva.RotZ(math.pi), eigen.Vector3d(2.0, 1.0, 0))
)
For each robot, we will add tasks and constraints as usual. First we will add tasks and constraints for UR5e robot:
// In the header
#include <mc_tasks/SurfaceTransformTask.h>
// ...
std::shared_ptr<mc_tasks::SurfaceTransformTask> handTask_;

// In the reset function
handTask_ = std::make_shared<mc_tasks::SurfaceTransformTask>("Tool", robots(), 0);
# In the reset callback
self._handTask = mc_tasks.SurfaceTransformTask(
"Tool", self.robots(), 0, 5.0, 1000.0
)Then we will add tasks for Dingo robot:
// In the header
#include <mc_tasks/TransformTask.h>
// ...
std::shared_ptr<mc_tasks::TransformTask> dingoBaseTask_;

// In the reset function
dingoBaseTask_ =
  std::make_shared<mc_tasks::TransformTask>("base_link", robots(), 1, 2.0, 1000);
# In the reset callback
self._dingoBaseTask = mc_tasks.EndEffectorTask(
"base_link", self.robots(), 1, 2.0, 1000.0
)Then we will add tasks and constraints for new articulated robot, the door:
// In the header
std::unique_ptr<mc_solver::KinematicsConstraint> doorKinematics_;
std::shared_ptr<mc_tasks::PostureTask> doorPostureTask_;
// In the reset function
doorKinematics_ = std::make_unique<mc_solver::KinematicsConstraint>(robots(), 2, solver().dt());
solver().addConstraintSet(doorKinematics_);
doorPostureTask_ = std::make_shared<mc_tasks::PostureTask>(solver(), 2, 1.0, 1.0);
solver().addTask(doorPostureTask_);
# In the reset callback
self._doorKinematics = mc_solver.KinematicsConstraint(
self.robots(), 2, self.solver().dt()
)
self.solver().addConstraintSet(self._doorKinematics)
self._doorPostureTask = mc_tasks.PostureTask(
self.solver(), 2, 1.0, 1.0
)
self.solver().addTask(self._doorPostureTask)Finally we will add collision constraint:
// In the constructor
double iDist = 0.1;
double sDist = 0.05;
addCollisions(
  "dingo", "door", {{"*", "*", iDist, sDist, 0}}
);
addCollisions(
  "ur5e", "door", {{"*", "*", iDist, sDist, 0}}
);
# In the constructor
iDist, sDist, damping = 0.1, 0.05, 0.0
self.addCollisions(
"dingo",
"door",
[mc_rbdyn.Collision("*", "*", iDist, sDist, damping)],
)
self.addCollisions(
"ur5e",
"door",
[mc_rbdyn.Collision("*", "*", iDist, sDist, damping)],
)Note: we don't add contact for the door yet as it has a fixed base. However, note that the contact constraint is directly available for every robots in the controller.
In that part of the tutorial we will setup the logic of our controller. We want to:
So, our code will reflect that:
// In the header
enum ControllerPhase
{
  APPROACH = 0,
  HANDLE,
  OPEN,
  DONE
};
// A private property of our controller
ControllerPhase phase_ = APPROACH;
// In the run function
bool MobileArmController::run()
{
  if(phase_ == APPROACH && 0 /** we write this condition later */)
  {
    /** Setup the HANDLE phase */
    phase_ = HANDLE;
  }
  else if(phase_ == HANDLE && 0 /** we write this condition later */)
  {
    /** Setup the OPEN phase */
    phase_ = OPEN;
  }
  else if(phase_ == OPEN && 0 /** we write this condition later */) {
    /** Setup the OPEN phase */
    phase_ = DONE;
  }
  else if (phase_ == DONE && 0 /** we write this condition later */) {
    /** Continue the DONE phase */
  }
  return mc_control::MCController::run();
}
# Declare constants
class ControllerPhase:
APPROACH = 0
HANDLE = 1
OPEN = 2
DONE = 3
# In constructor
def __init__(self, rm, dt):
self._phase = APPROACH
# In the run callback
def run_callback(self):
if self._phase == ControllerPhase.APPROACH and False: # We write this condition later
# Setup the HANDLE phase
self._phase = ControllerPhase.HANDLE
elif (
self._phase == ControllerPhase.HANDLE and False
): # We write this condition later
# Setup the OPEN phase
self._phase = ControllerPhase.OPEN
elif self._phase == ControllerPhase.OPEN and False: # We write this condition later
# Continue the DONE phase
pass
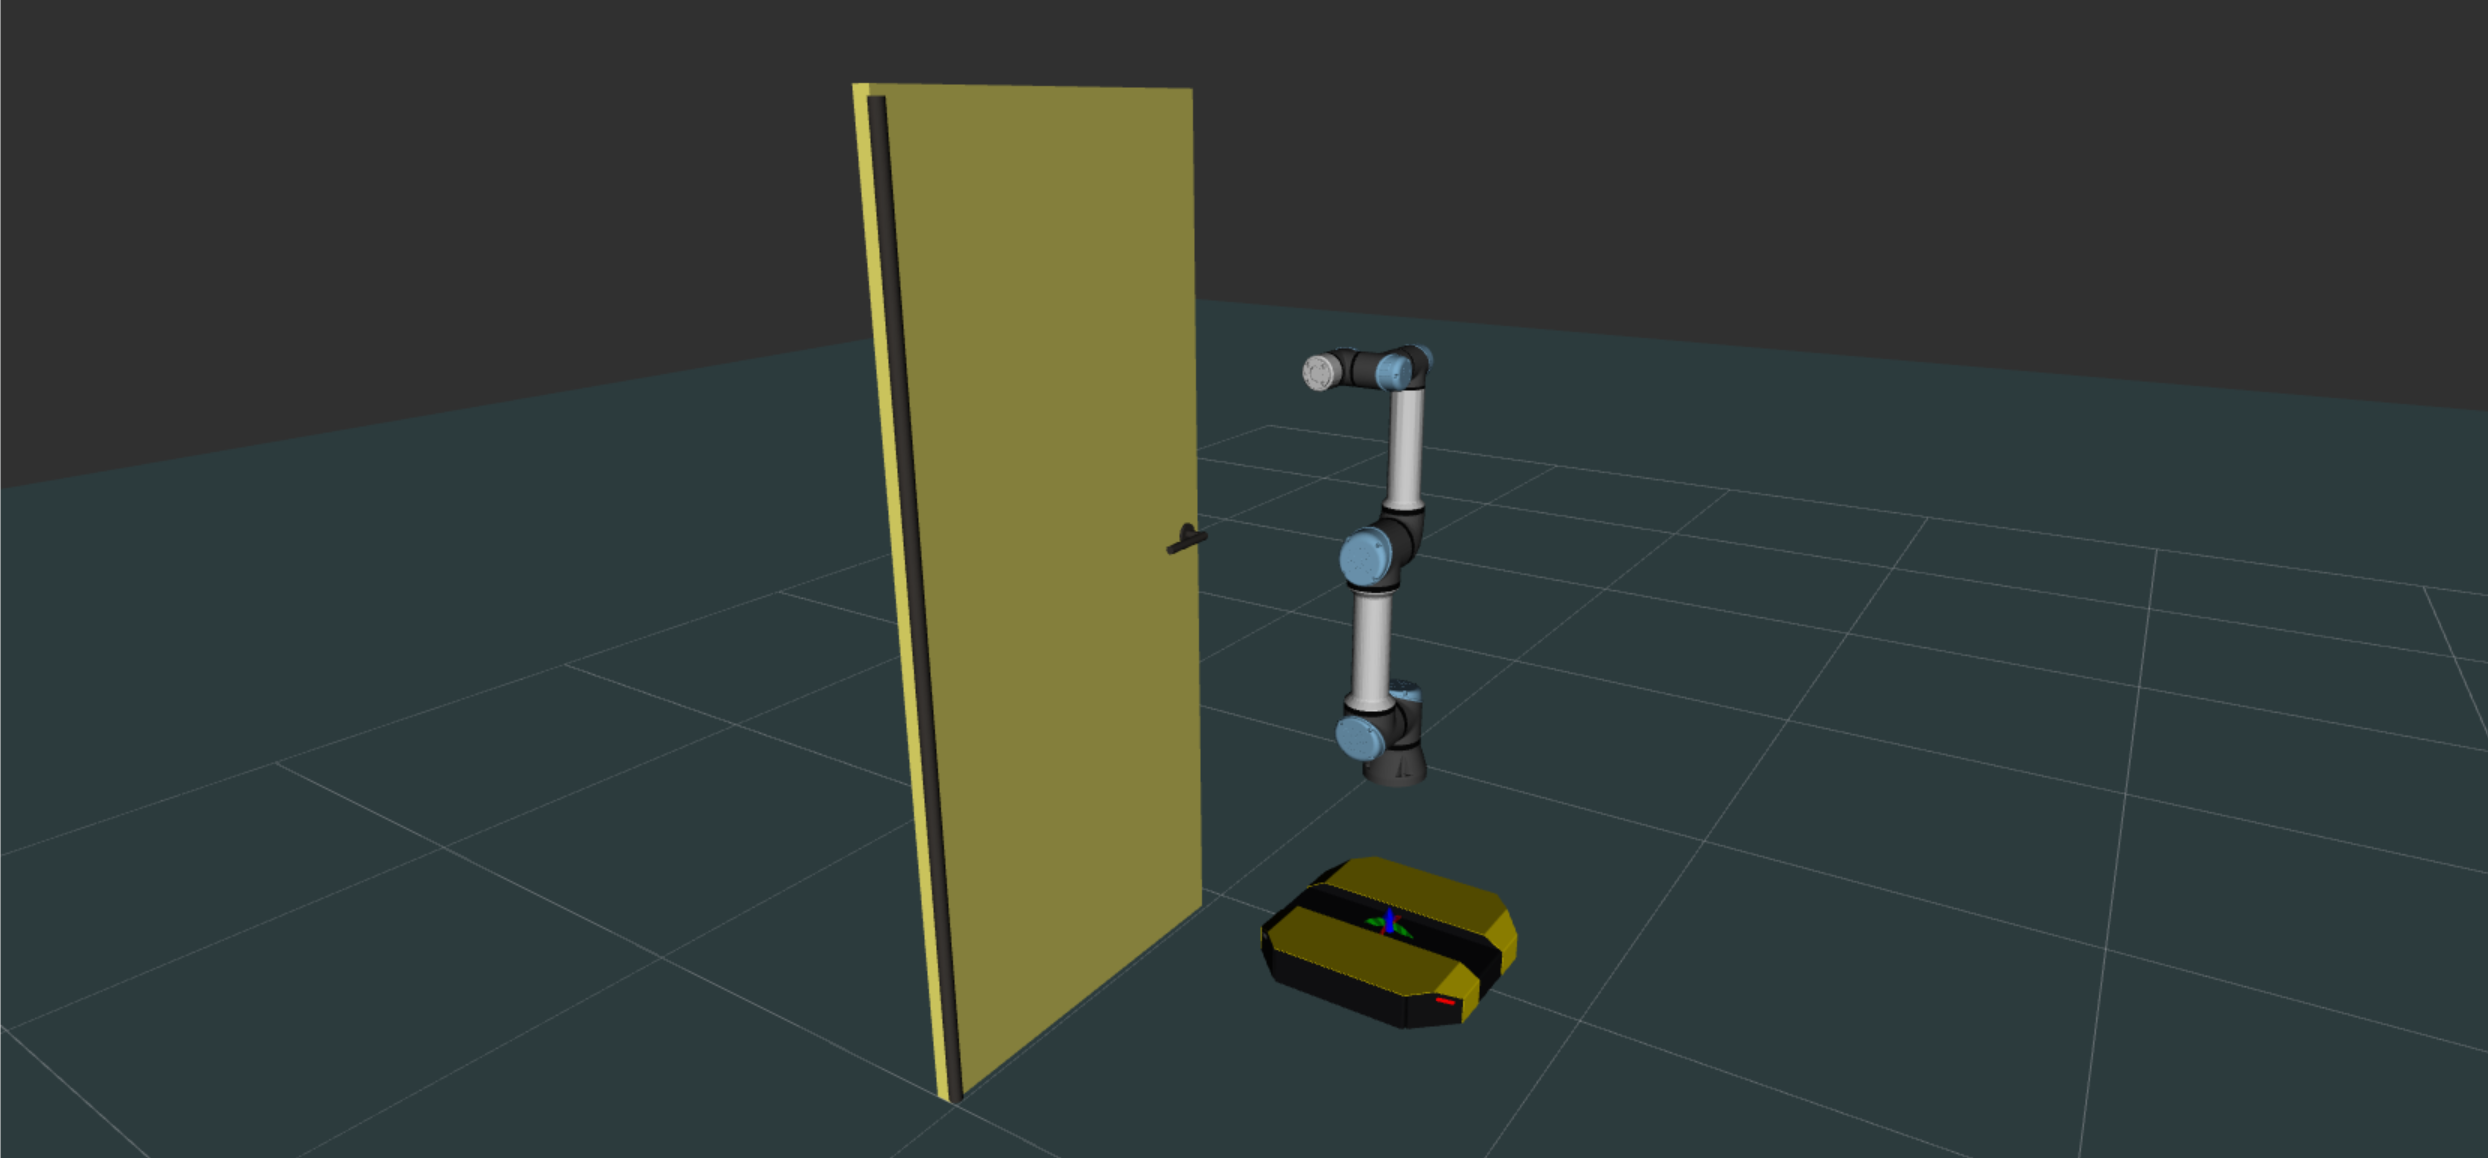
return TrueFor this phase, we move the main robot UR5e to a predefined standby pose using a posture task. In order not to conflict with the surfarce transform task, we don't add surface transform task in this phase.
// In the reset function
solver().addTask(dingoBaseTask_);
solver().addTask(postureTask.get());
postureTask->target({{"shoulder_lift_joint", {-M_PI / 2}}});
dingoBaseTask_->target({Eigen::Vector3d(1.5, 0.0, 0.0)});
# In the reset callback
self.qpsolver.addTask(self._dingoBaseTask)
self.qpsolver.addTask(self.postureTask)
self.postureTask.target(
{
"shoulder_lift_joint".encode("utf-8"): [-math.pi / 2],
}
)
self._dingoBaseTask.add_ef_pose(
sva.PTransformd(sva.RotZ(0), eigen.Vector3d(1.5, 0.0, 0.0))
)
For this phase, we will introduce the SurfaceTransformTask. It is very similar to the EndEffectorTask we used except that the task is controlling a surface of the robot instead of an end-effector. This usually makes it easier to express the objective. Furthermore, we will define the target using the position of the door's handle so that we don't have to adapt our code if we decide to move the door or change the hand. Also, we remove the posture task of UR5e to avoid conflict between tasks.
// In the run function, under phase_ == APPROACH
solver().removeTask(postureTask);
handTask_->reset();
solver().addTask(handTask_);
handTask_->target(sva::PTransformd(Eigen::Vector3d(0, 0, -0.05)) * robots().robot(2).surfacePose("Handle"));
phase_ = HANDLE;
# In the run callback, under self._phase == ControllerPhase.APPROACH
self.qpsolver.removeTask(self.postureTask)
self._handTask.reset()
self.qpsolver.addTask(self._handTask)
self._handTask.target(
sva.PTransformd(eigen.Vector3d(0.0, 0.0, -0.05))
* self.robots().robot(2).surfacePose("Handle")
)
self._phase = ControllerPhase.HANDLE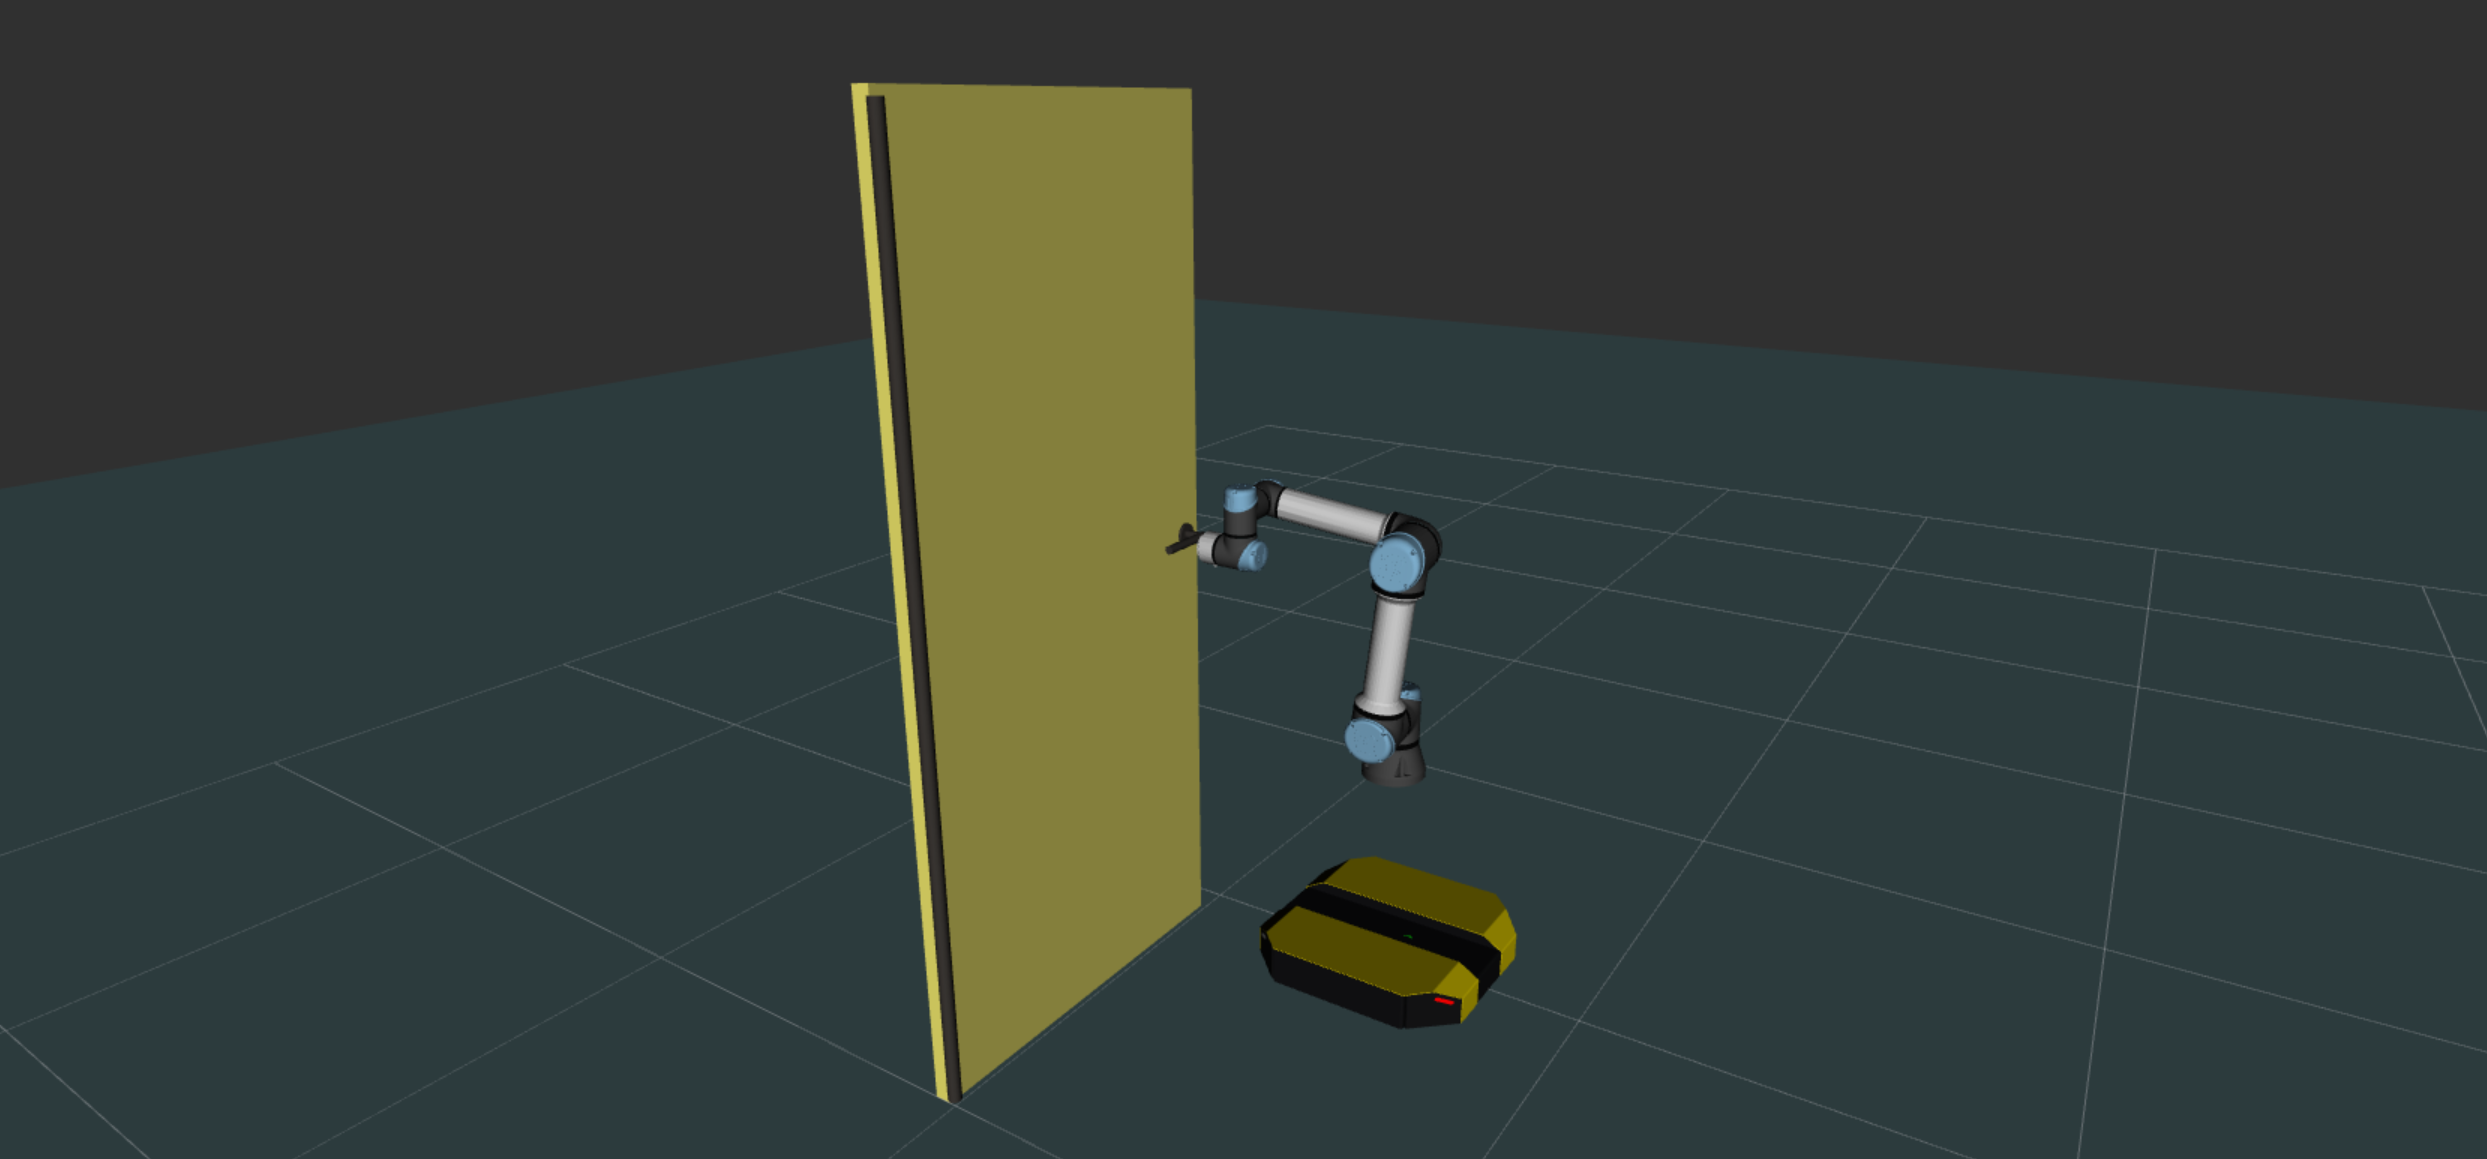
We need to settle two things for phase 2:
The first point will be to monitor the execution of the SurfaceTransformTask. For the second point, we will add a contact between the door and the robot's gripper, remove the task on the robot's gripper (it is now handled by the contact) and change the target for the handle position.
// In the run function, under phase_ == HANDLE
addContact({"ur5e", "door", "Tool", "Handle"});
solver().removeTask(handTask_);
postureTask->reset();
doorPostureTask_->target({{"handle", {-1.0}}});
# In the run callback, under self._phase == ControllerPhase.HANDLE
self.addContact(mc_control.Contact("ur5e", "door", "Tool", "Handle"))
self.qpsolver.removeTask(self._handTask)
self.postureTask.reset()
self._doorPosture.target(
{
"handle".encode("utf-8"): [-1.0],
}
)
self._phase = ControllerPhase.OPEN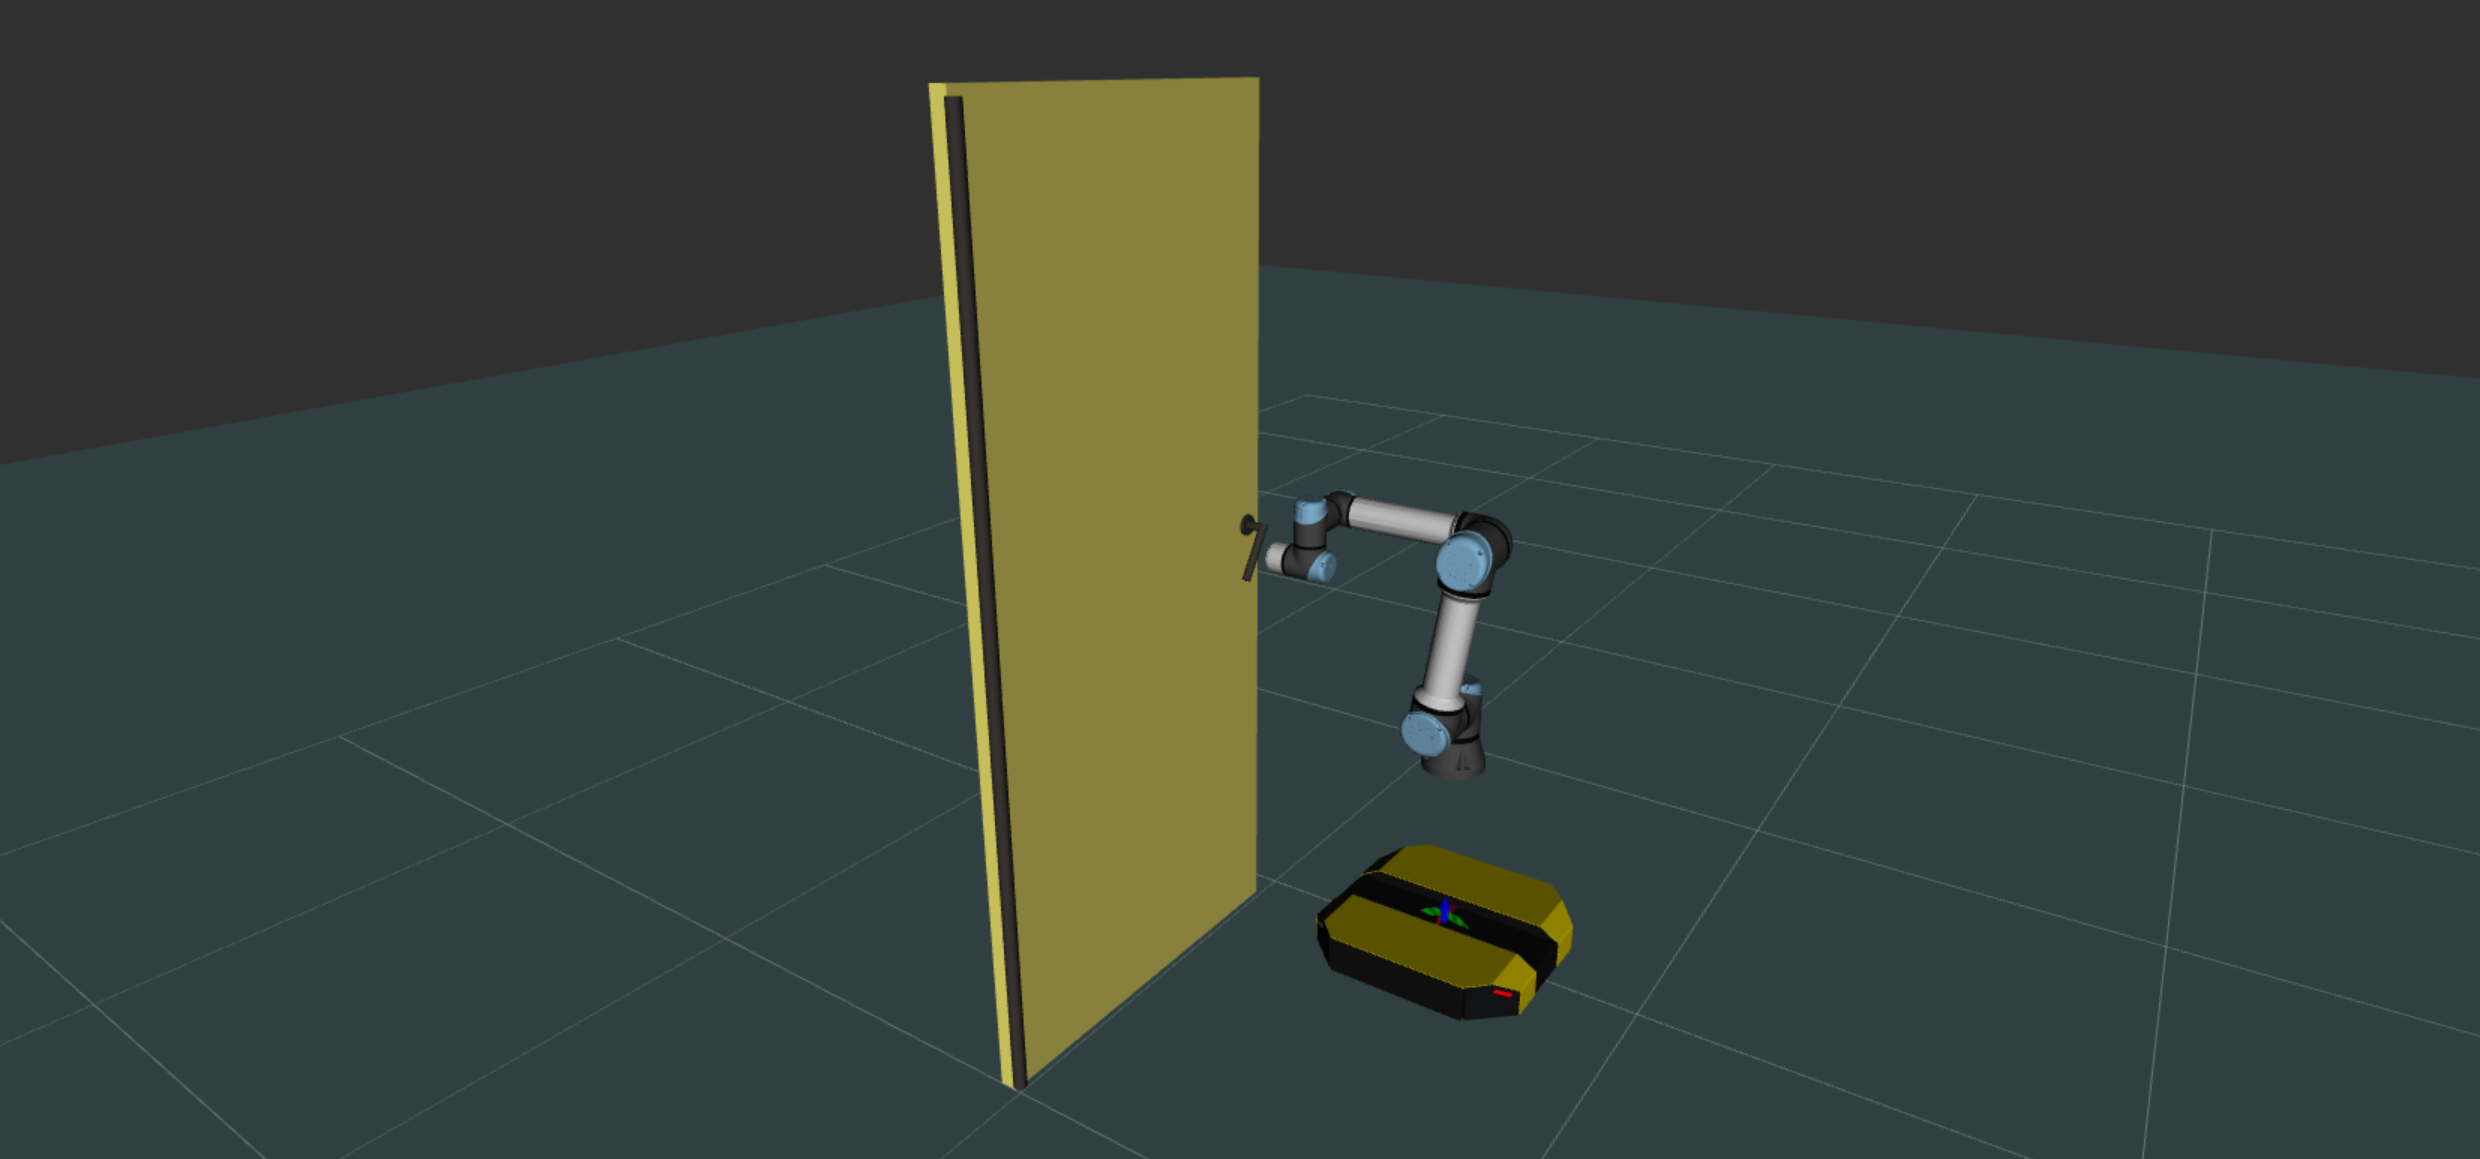
This phase is very similar to the previous one. We will check the handle position that has been reached to trigger the transition and then remove the end-effector task of Dingo robot (it is now handled by the contact) and set an objective for the door opening.
// In the run function, under phase_ == OPEN
solver().removeTask(dingoBaseTask_);
doorPostureTask_->target({{"door", {M_PI / 2}}});
phase_ = DONE;
# In the run callback, under self._phase == ControllerPhase.OPEN
self.qpsolver.removeTask(self._dingoBaseTask)
self._doorPosture.target(
{
"door".encode("utf-8"): [math.pi / 2],
}
)
self._phase = ControllerPhase.DONE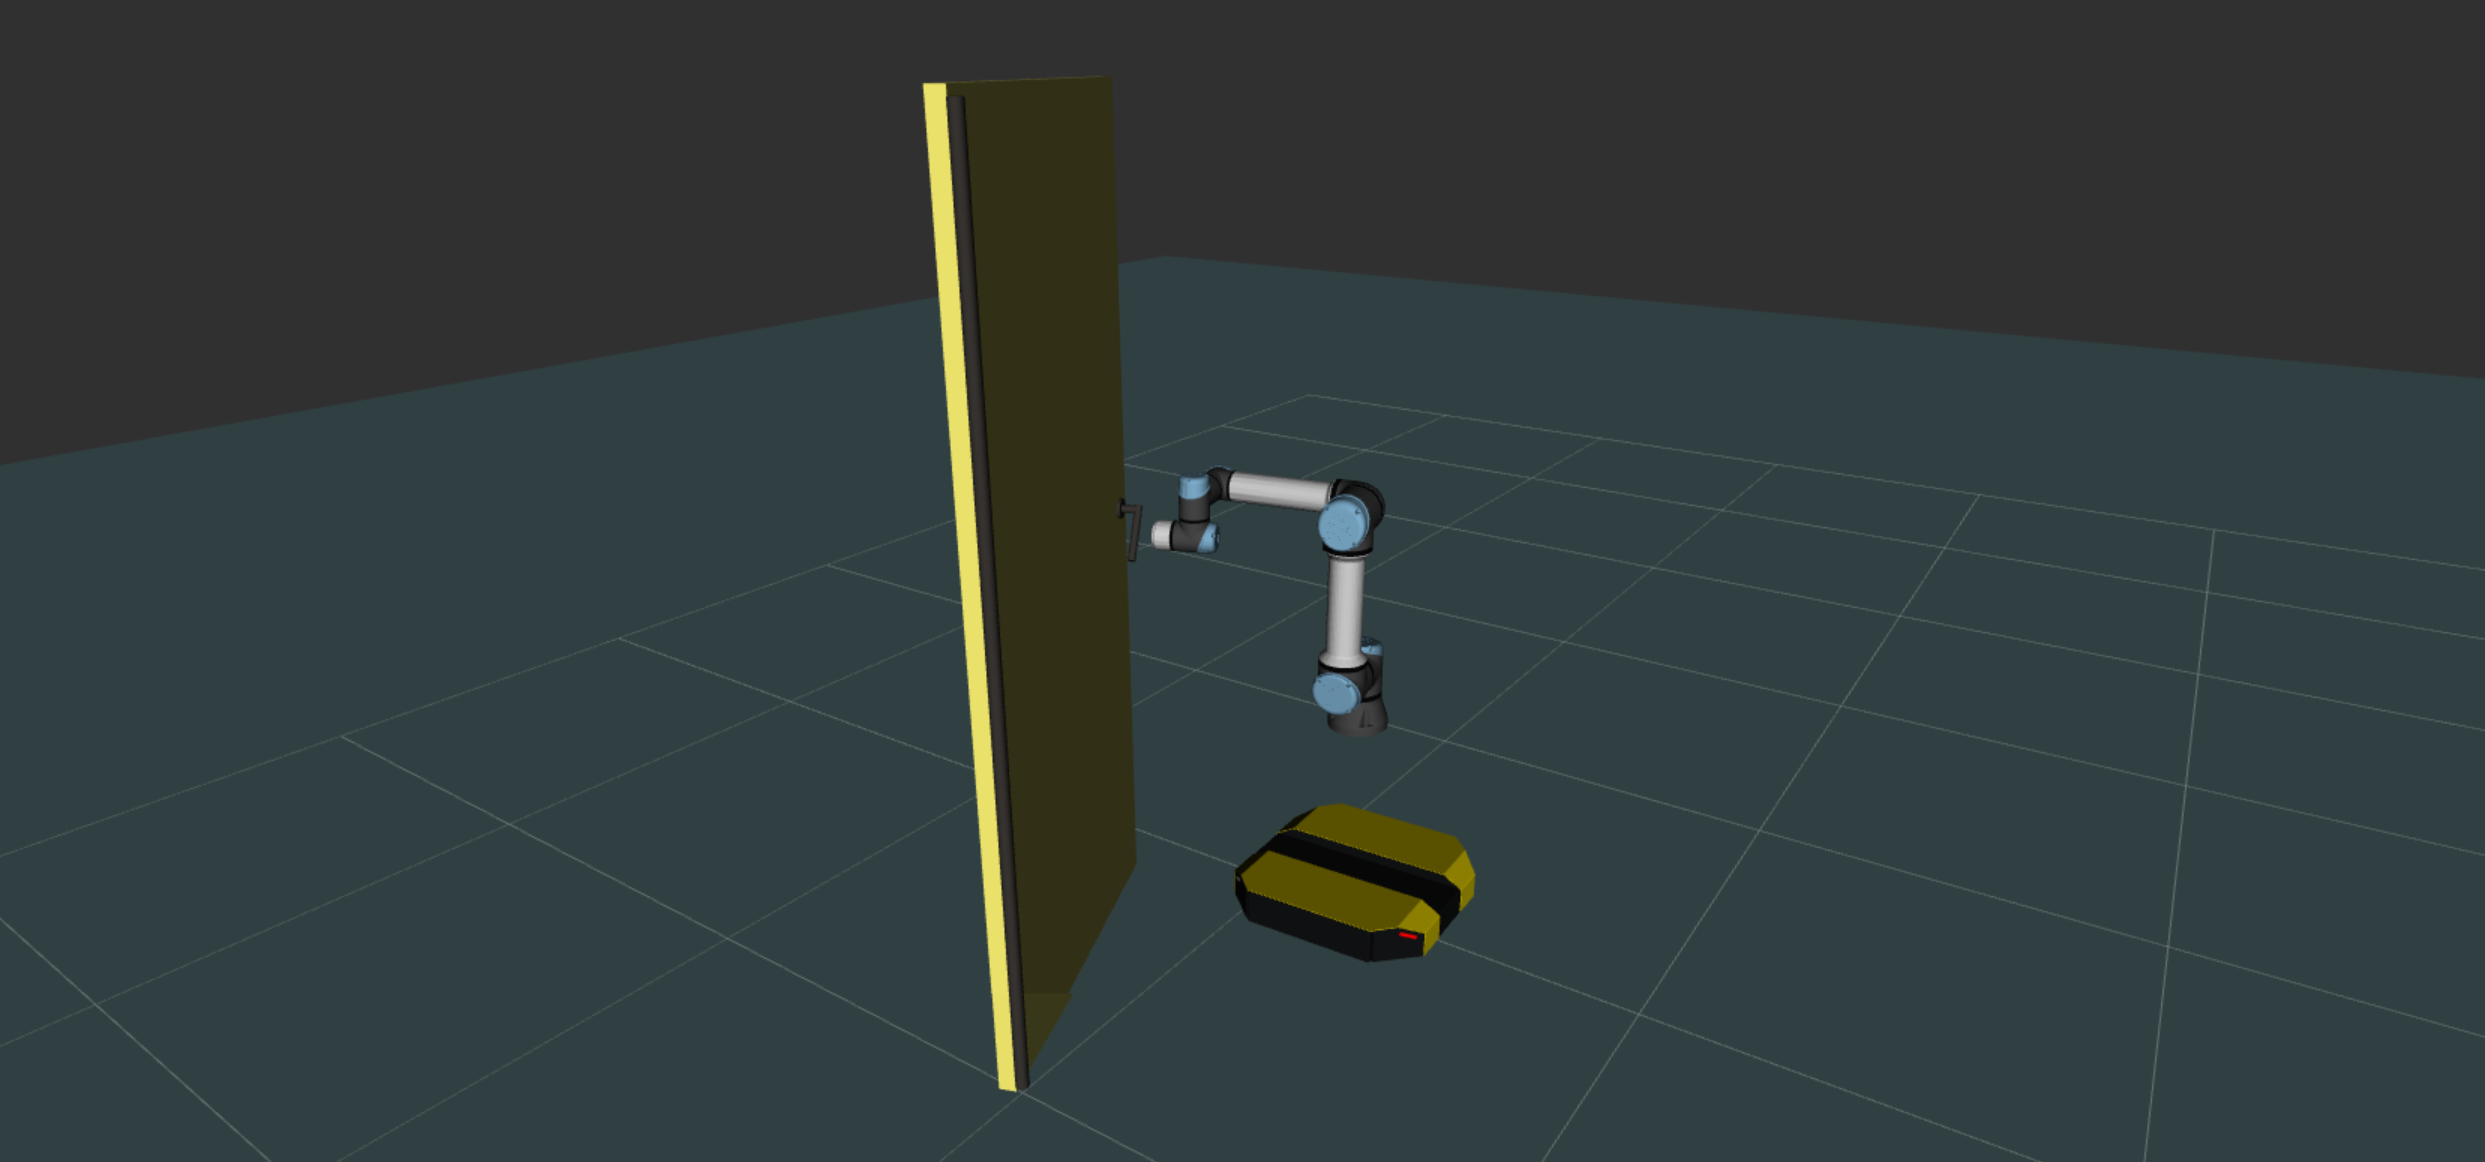
In this last phase, we will release the door handle by removing the contact between UR5e and the door, and go back to standby pose using a posture task. Also, we will re-add the end-effector task to Dingo robot to stop it from moving.
// In the run function, under phase_ == DONE
removeContact({"ur5e", "door", "Tool", "Handle"});
solver().addTask(dingoBaseTask_);
solver().addTask(postureTask);
# In the run callback, under self._phase == ControllerPhase.DONE
self.removeContact(mc_control.Contact("ur5e", "door", "Tool", "Handle"))
self._dingoBaseTask.reset()
self.qpsolver.addTask(self._dingoBaseTask)
self.qpsolver.addTask(self.postureTask)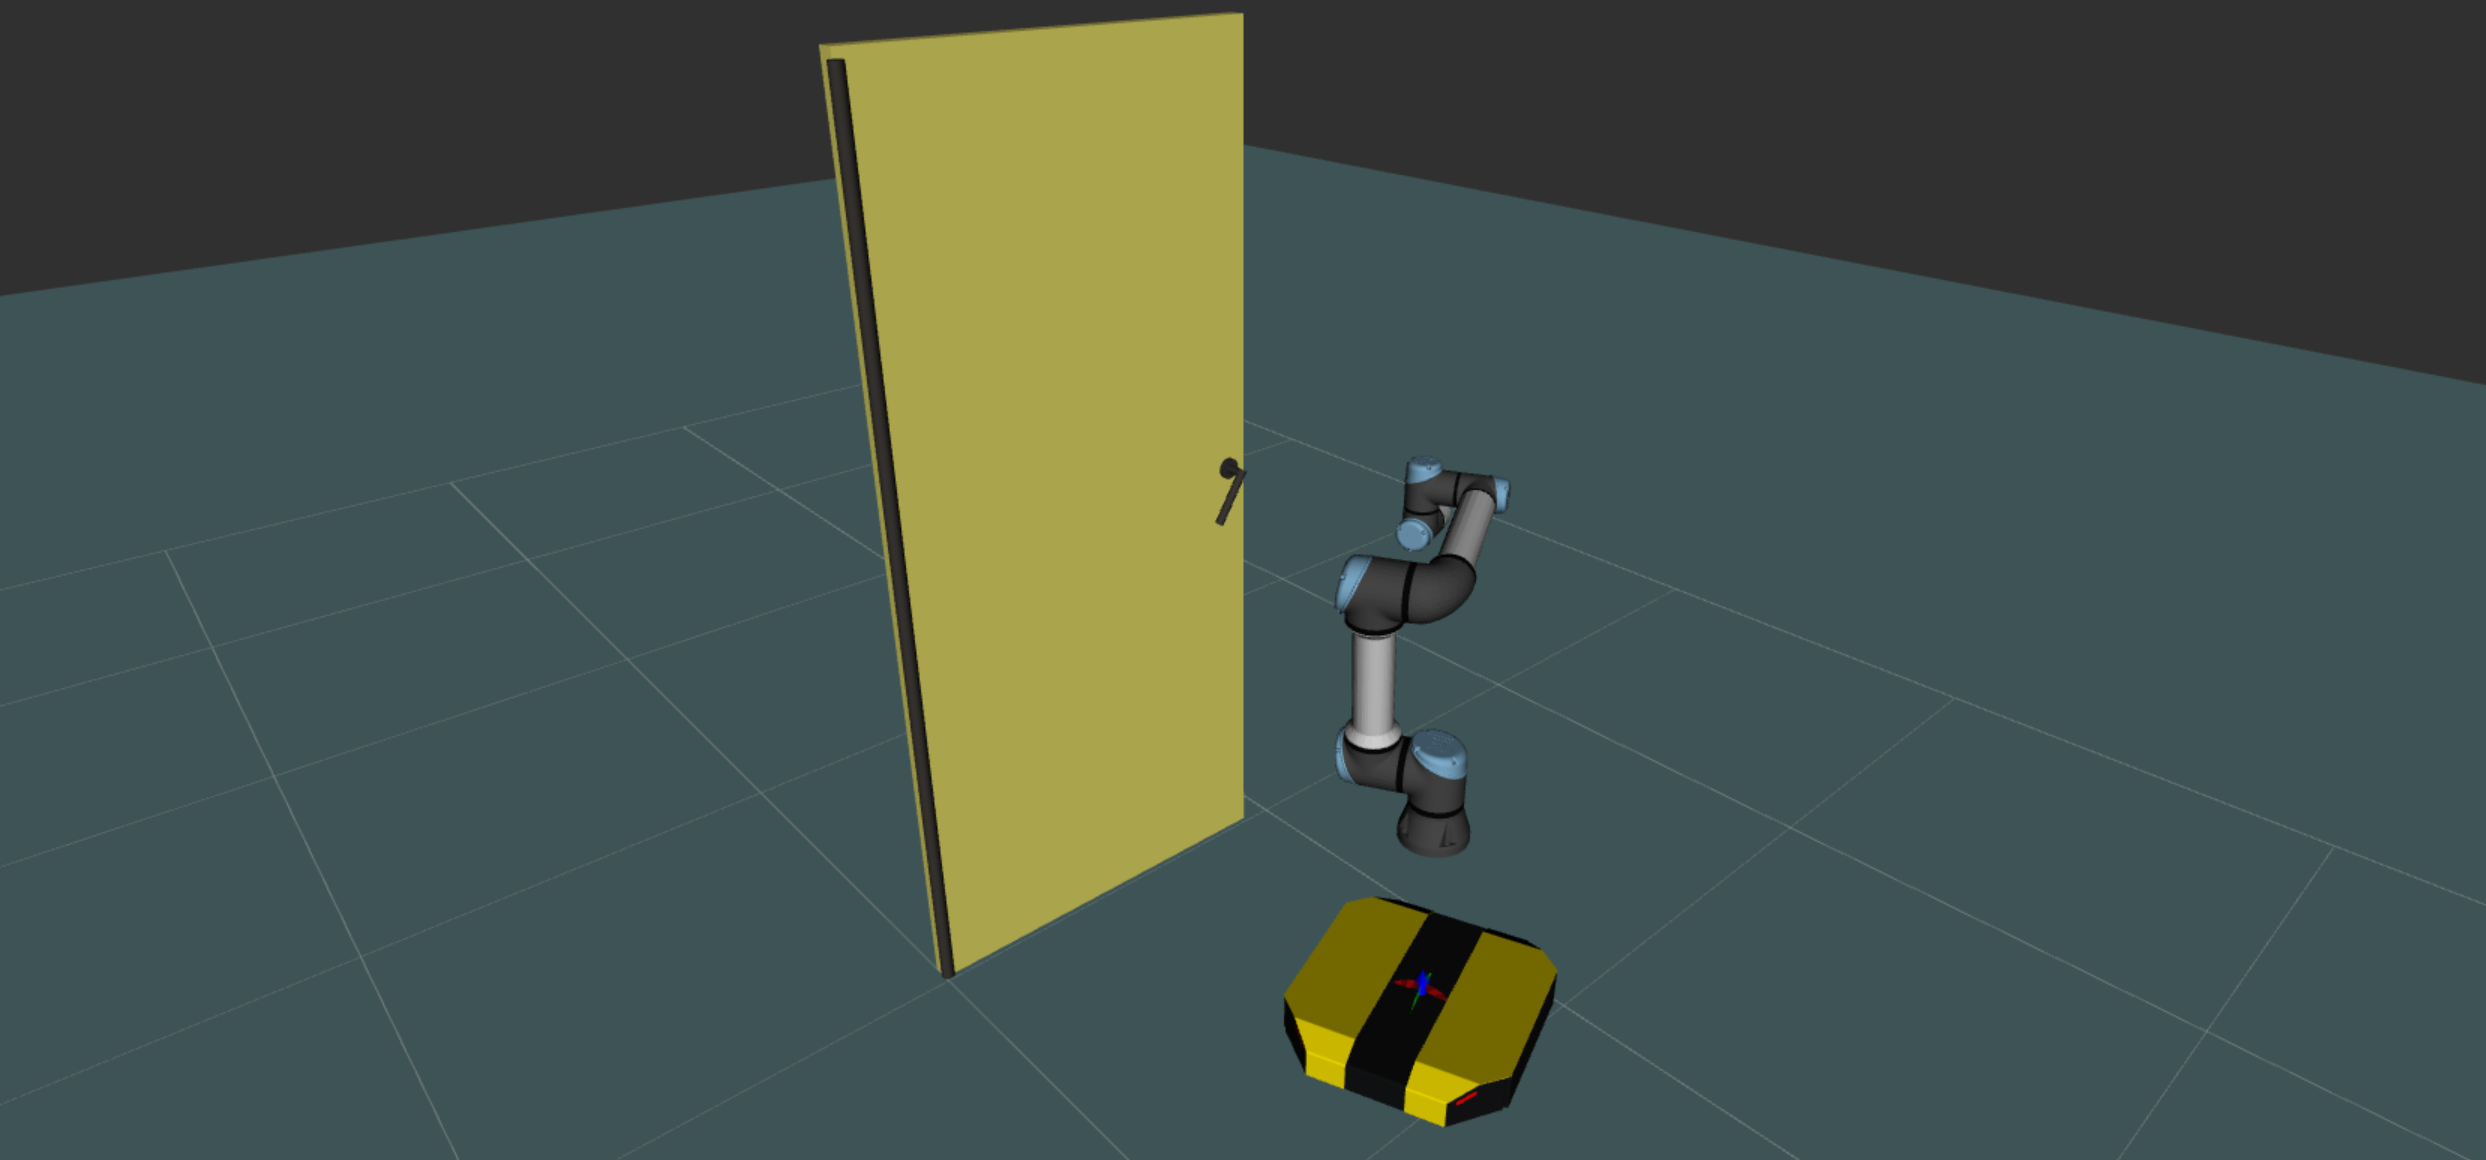
Now it is time to add completion conditions for earch phase of the simulation. Similar to previous tutorials, before moving to the next phase, we want to check if the robots reach steady state at the desired target.
// In the run function
if (phase_ == APPROACH && dingoBaseTask_->eval().norm() < 1e-2 && dingoBaseTask_->speed().norm() < 1e-5)
{
  // ...
}
else if (phase_ == HANDLE && handTask_->eval().norm() < 0.1 && handTask_->speed().norm() < 1e-4)
{
  // ...
}
else if (phase_ == OPEN && doorPostureTask_->eval().norm() < 0.01)
{
  // ...
}
else if (phase_ == DONE && doorPostureTask_->eval().norm() < 0.01)
{
  // ...
}
# In the run function
if (
self._phase == ControllerPhase.APPROACH
and self._dingoBaseTask.eval().norm() < 1e-2
and self._dingoBaseTask.speed().norm() < 1e-5
):
# ...
elif (
self._phase == ControllerPhase.HANDLE
and self._handTask.eval().norm() < 0.1
and self._handTask.speed().norm() < 1e-4
):
# ...
elif (
self._phase == ControllerPhase.OPEN
and self._doorPosture.eval().norm() < 0.01
):
# ...
elif (
self._phase == ControllerPhase.DONE
and self._doorPosture.eval().norm() < 0.01
):
# ...At this point you can play around with some of the parameters and see the benefits of the multi-robot approach as you can change the following without changing anything else:
The full sources for this controller are available here. Also, the source code including environment setup can be found in mc_rtc_tutorials repository.